
How ASP.NET Core and AWS made change request anxiety a thing of the past
Only a couple of years ago, this would have passed as a short horror story:
A request to change settings in your application.
Mostly because it meant: Hello, redeployment.
Luckily, changing settings is a pretty simple task nowadays if you are using ASP.NET Core – you can just change values in appsettings.json and the new values will be loaded.
However, there are still some cases where this approach is useless. For example, if you are using docker or some other images that can t access the appsettings.json file. Another instance is using a store for loading appsettings.json values – in our example that would be AWS System Manager Parameter Store.
In this article, I will explain all the steps that will help you load new values in your ASP.NET Core app by using AWS Systems Manager Parameter Store.
Technology and tools stack you will need:
- ASP.NET Core 3.1
- Amazon.Extensions.Configuration.SystemsManager 2.0.0
- Visual Studio 2019 Community
For those of you who like to jump right into coding, you can download the source code at GitHub on this link: https://github.com/stensolino/SampleParameterStore
Loading new values in the ASP.NET Core app using AWS Systems Manager Parameter Store – A Step by Step Guide
The first step is to create a new project, ASP.NET Core Web Application API. We should get this hierarchy:

Before any new implementations, we need to verify that we can change values in appsettings.json directly.
I have added a new parameter (“SomeKey”) to appsettings.json:
{
  "Logging": {
    "LogLevel": {
      "Default": "Information",
      "Microsoft": "Warning",
      "Microsoft.Hosting.Lifetime": "Information"
    }
  },
  "AllowedHosts": "*",
  "SomeKey": "initial-value"
}
Next, we are going to read and return the new value in WeatherForecastController, which is already created in our project. After editing. The WeatherForecastController should look like this:
using Microsoft.AspNetCore.Mvc;
using Microsoft.Extensions.Configuration;

namespace SampleParameterStore.Controllers
{
    [ApiController]
    [Route("[controller]")]
    public class WeatherForecastController : ControllerBase
    {
        private readonly IConfiguration _configuration;
        public WeatherForecastController(IConfiguration configuration)
        {
            _configuration = configuration;
        }

        [HttpGet]
        public string Get()
        {
            var config = _configuration.GetSection("SomeKey").Value;
            return config;
        }
    }
}
At this point, we can run the application and verify that our appsettings.json changes are implemented.

We can see that we are getting the right value, meaning we are ready to change the value without stopping the application. After you change the value, reload the page.
In the previous example, we used GetSection to get a value from appsettings.json. Besides this implementation, there is an option to go with another commonly used implementation: using Option Pattern for reading values from appsettings.json. To do this, we need to create a new class. We ll name it SomeConfig:
namespace SampleParameterStore.Config
{
    public class SomeConfig
    {
        public string FirstValue { get; set; }
        public string SecondValue { get; set; }
    }
}
Add a new parameter to appsettings.json:
{
  "Logging": {
    "LogLevel": {
      "Default": "Information",
      "Microsoft": "Warning",
      "Microsoft.Hosting.Lifetime": "Information"
    }
  },
  "AllowedHosts": "*",
  "SomeKey": "initial-value",
  "SomeConfig": {
    "FirstValue": "initial-first",
    "SecondValue": "initial-second"
  }
}
Register SomeConfig in the ConfigureServices method inside Startup.cs file:
services.Configure<SomeConfig>(Configuration.GetSection("SomeConfig"));
Now we need to add these values to our controller to verify changes. After editing, our controller should look like this:
using Microsoft.AspNetCore.Mvc;
using Microsoft.Extensions.Configuration;
using Microsoft.Extensions.Options;
using SampleParameterStore.Config;
using System.Collections.Generic;

namespace SampleParameterStore.Controllers
{
    [ApiController]
    [Route("[controller]")]
    public class WeatherForecastController : ControllerBase
    {
        private readonly IConfiguration _configuration;
        private readonly SomeConfig _someConfig;

        public WeatherForecastController(IConfiguration configuration, IOptionsSnapshot<SomeConfig> options)
        {
            _configuration = configuration;
            _someConfig = options.Value;
        }

        [HttpGet]
        public IEnumerable<string> Get()
        {
            var config = _configuration.GetSection("SomeKey").Value;

            return new[] { config, _someConfig.FirstValue, _someConfig.SecondValue };
        }
    }
}
Let s focus on IOptionsSnapshot<SomeConfig> options parameter for a moment here. This config is usually used as IOptions<SomeConfig> options, the main difference being that IOptions is based on singleton pattern (we can t update those values without restarting an application), while IOptionsSnapshot<SomeConfig> options are loaded per request (our changes in appsettings.json will be reflected upon every request).
Now that we have the application ready, our next step is implementing AWS Systems Manager Parameter Store.
First, we will add our values to AWS Parameter Store.
Go to AWS Console, open “Services” and under “Management & Governance”, find “Systems Manager”. On the “Systems Manager” page on the left menu click on “Parameter Store” and then click on “Create parameter”. After doing all these steps, you should see this page:

We will populate only two fields: Name and Value. Name is a very important parameter here because we have to follow the standard for naming parameters. We will see why in the example below.
In our example, we want to add three parameters from our appsettings.json file, so we can start with the “SomeKey” parameter.
For a Name parameter, enter /development/SomeKey and for a Value parameter, you can enter whatever you want. We can also add other parameters now.
We need SomeConfig object which has FirstValue and LastValue. To add them, we will need to add two new parameters in the AWS Parameter Store. Click on “Create parameter” and enter /development/SomeConfig/FirstValue under Name and as for a value, again, enter whatever you want. Add this parameter and then create the last one with the name /development/SomeConfig/SecondValue and your value.
If you are successfully following the steps you should have these parameters:
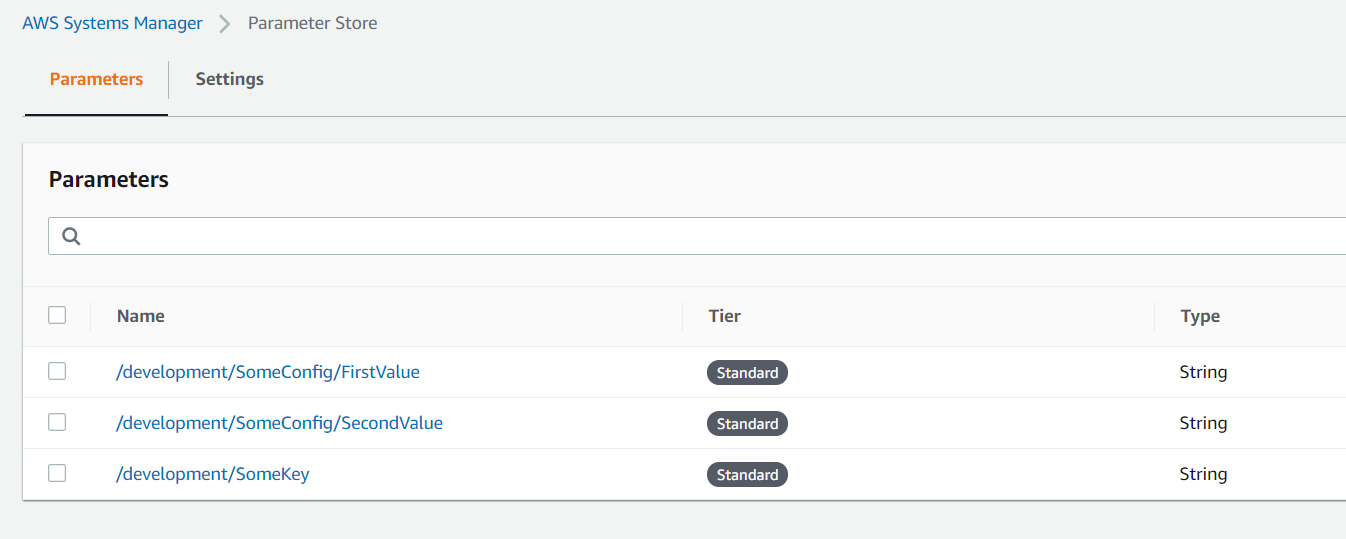
Going back to the naming parameters, you can notice which pattern we are using. Let s take /development/SomeConfig/SecondValue as an example:
- /development/ is a prefix; later in the code, you will see where we are setting prefix
- the prefix is followed by SomeConfig/ which is the root key in an appsettings.json file
- SecondValue is a child of SomeConfig key in an appsettings.json file.
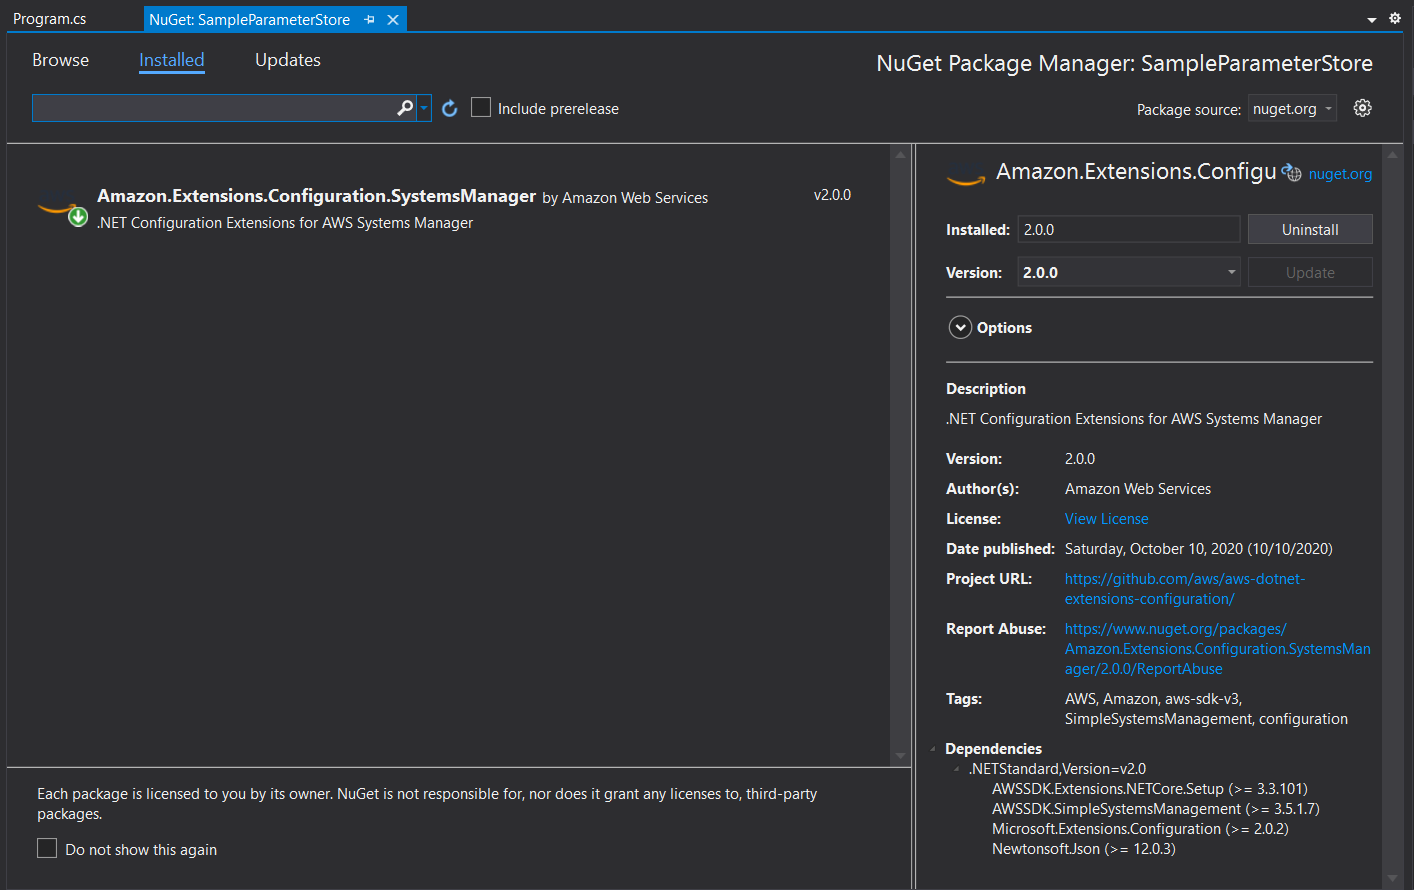
Now that we have prepared AWS Parameter Store, we are ready to update our code to use it. We have to install NuGet package Amazon.Extensions.Configuration.SystemsManager:
We will need to update our Program.cs file to use the package . It should look like this:
using Microsoft.AspNetCore.Hosting;
using Microsoft.Extensions.Configuration;
using Microsoft.Extensions.Hosting;
using System;

namespace SampleParameterStore
{
    public class Program
    {
        public static void Main(string[] args)
        {
            CreateHostBuilder(args).Build().Run();
        }

        public static IHostBuilder CreateHostBuilder(string[] args) =>
            Host.CreateDefaultBuilder(args)
                .ConfigureAppConfiguration((hostingContext, config) =>
                {
                    var envName = hostingContext.HostingEnvironment.EnvironmentName.ToString().ToLower();
                    config.AddSystemsManager($"/{envName}", TimeSpan.FromMinutes(5));
                })
                .ConfigureWebHostDefaults(webBuilder =>
                {
                    webBuilder.UseStartup<Startup>();
                });
    }
}
On line 20 the first parameter is a prefix which we talked about earlier while naming our parameters in AWS Parameter Store.
In our case, we are using the environment name as a prefix, so we can add parameters for multiple environments (Development, QA, Staging, etc.). Any parameter in AWS Parameter Store starting in something different will not be recognized by the application.
Before running the app I want to point out that we will need access to the AWS Parameter Store on our local machine. There are different ways of accomplishing this. I ll show you how to do it using AWS CLI Profile.
If we don t have access to the AWS Parameter Store after running our app, we should get this error:
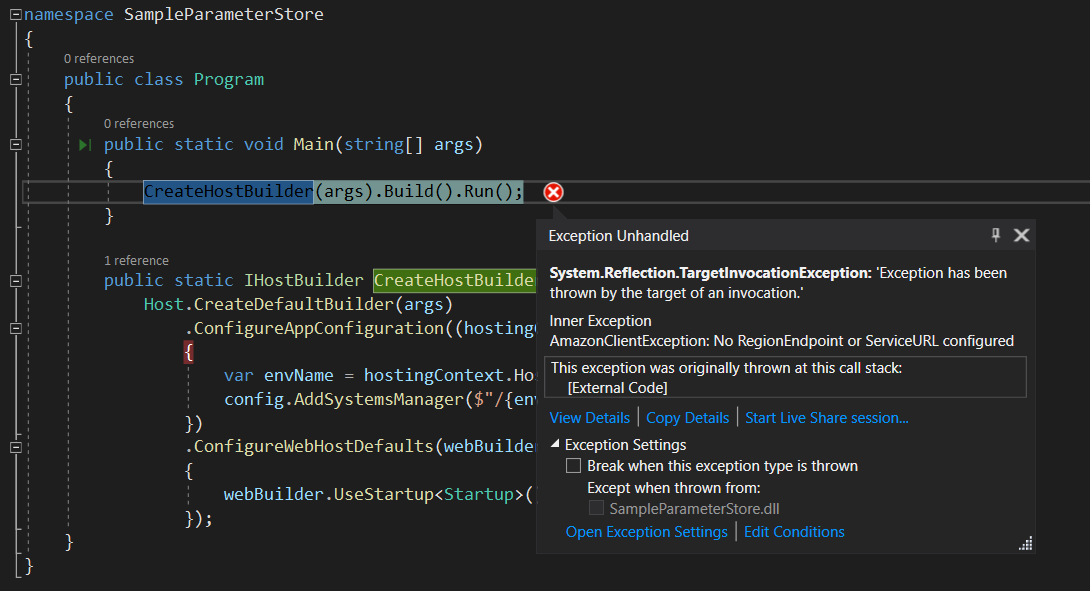
As the setup of AWS CLI is out of the scope of this blog, you can follow AWS documentation.
In the end, you should have config and credentials files. If you are using Windows 10 you can find them in %USERPROFILE%/.aws folder. If you open any of these files you should see [default], which is your default AWS CLI profile.
After we have finished the setup of AWS CLI profile, we can run our application again. Now it should pass without fault.
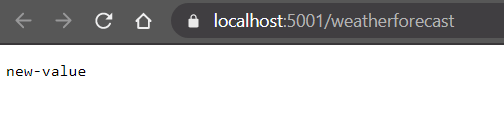
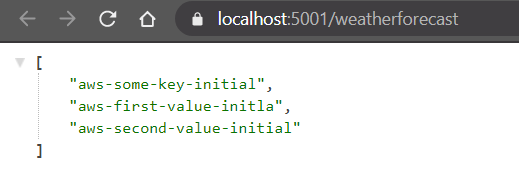
When we open our web page now (https://localhost:5001/weatherforecast), we should see values that we entered in AWS Systems Manager Parameter Store:
Finally, the time has come for us to verify the work.
Change values in AWS Parameter Store and refresh the webpage. Be aware that we have set 5 minutes time in Program.cs to reload the new configuration.
